Showing posts with label painting. Show all posts

Monday, March 31, 2014

Portrait of a 3 year old


I am so in love with this portrait that Emma made today! Well yes I did help her a bit, but we'll get to that in a moment. First, THIS was our inspiration. I love pinterest and Emma loves hovering over my shoulder, so when she saw that picture, she asked me if she could make one like that of herself and I jumped right up from the couch to get our painting gear ready. Please don't mind the blurry pictures that I took with my phone, it's like a second nature that phone nowadays that I've totally forgotten what a normal camera looks like.

I'm always beating myself up when I try to direct the way she is creating her art, but this time I thought that it might be fun to make it together. Help her where she wants/needs help and just enjoy the time that we are painting together. This attitude adjustment was all I needed and we had so much fun, in the end I realised she did most of it on her own anyway. But just to be clear with you all, I'll tell you what my role was, aka what I did and what's all her.


 We started out by painting the head; she did that all by herself. I made the neck and the outline of her shirt as her drawing level is not there yet, she then coloured them in. She also painted the eyes and asked me to draw the mouth as she wanted it to be like in the picture.

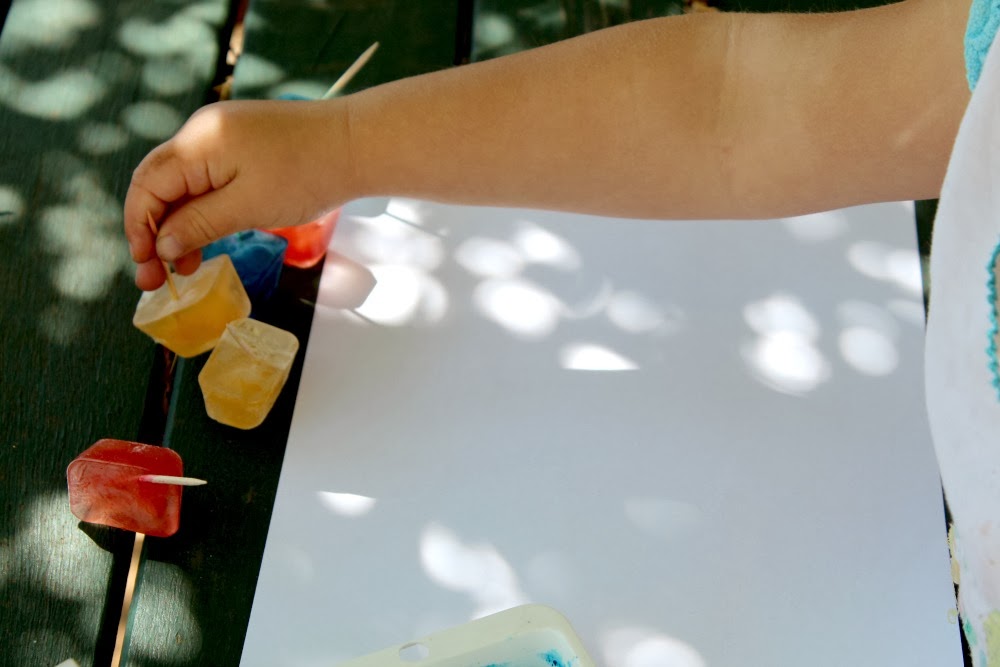
We used acrylic paints for the whole picture, but for the hair I gave her cups with a very little water and she mixed some paint in them. I helped her in dropping some of the watery paint mixture around the face and she blew through a straw to make funny hair.


Above is what the picture looked like after she was done with the paint. I gave her a marker and asked her to draw the nose and the eyebrows. Then I went around the eyes, the mouth and the head with the marker. Below is the finished picture.


I think this picture will be framed for a very long time. It was so much fun to do and she is so proud of what she's created. If you look at the picture at the very top you'll see photo where she is about one month old. I can't believe 3 and a half years later I have a picture next to that photo made by that little baby girl. How amazing are these little people, how much talent there is, it all blows me away. And wow how truthful that self portrait is of her, so much attitude and craziness and I am so lucky to be able to be part of her world everyday. Bless you little artist.

Friday, March 7, 2014

Painting with ice

Sorry guys, I've been away for a long time. Truth is, as my holidays were coming to an end, I wanted to unplug a little for the remaining weeks and decided to play more with my kids and spend less time on the computer. It worked great and I don't think I've ever read so many books and sang so many songs as during those last weeks of my holiday. Now I'm back at work and slowly getting into some sort of routine. Both of the kids are having a nap after a long week so I thought to say hi.

HI!

I'd love to share something we did while I was still holidaying. We call it ICE PAINTING!


All you need is some water, food colouring, toothpicks and an ice tray. So make some coloured ice cubes and put a toothpick in for each ice cube, that way they are easier to hold when painting.

And to my Finnish friends: Ei tarvii odottaa kesään, kokeilkaa joku tehdä tätä saunassa ja kertokaa mulle miten sujui!!!


Once the ice cubes are frozen, make yourself a painting station outside, choose a sunny day and start painting. My kids loved seeing to colour coming off from the ice cubes as they started to melt.


In the end we put all the remaining blocks in water and watched the water change colour.


SUCH FUN!

Let me know if you've tried this and tell me how you went, even better if you take a picture of it!


Thursday, January 9, 2014

Finger painting from 2011

Edit: Yay I found this post! It's from my old blog, written in November 2011! Crazy how time has gone so fast. And how come I didn't remember that this finger paint is so easy to make! Oh well, we're going to give this a go too so that Noah can get messy too. Enjoy for the glimpse to the past!  

Last week was a bit like a holiday for us. My husband took the week off and spent it with us, because today he is starting at the Police Academy and we will only see him during the weekends. It was so nice having him around, but still we were busy doing things around the house all week.

So I thought we should do something together with Emma.

One part water, one part flour and then some food colouring! That simple!

It was perfectly sunny and warm day to do it, so we went outside, stripped her nearly naked and started painting.


First some paper and then some feet.


And then anything we could find.


It was so much fun! I recomend it to anyone.

Wednesday, January 8, 2014

Summer fun with finger paint (thermomix recipe)


Part of my husband's job is to work as long as you are required to work. So sometimes when he's suppose to finish at midnight, he doesn't actually get to finish until 8am and be home at about 9am. This was the case just yesterday morning. In these circumstances I have to come up with some sort of activities to do with the kids that doesn't make much noise and is preferably outside.

Yesterday morning I thought it was time to try what sort of finger paint the thermomix would make. We used the recipe from the everyday cook book (I halved the recipe thats's in the book), but you could do this without the thermomix too.


Recipe:
  • 35g of cornflour
  • 20g of sugar
  • 1/2 tbs salt
  • 235g water
Just mix all these ingredients in a pot and heat it up until it goes thick (like cornflour does). If you're not doing it with a thermomix, you do have to keep mixing it until it goes thick. It's that simple. Then just divide the mixture into little containers, add your food colouring and mix it in.


The paint this makes is a rather gooey kind, more like jelly than paint. Emma still loved it and painted heaps. She tried what different colours make when you mix them together. She squeezed them between her hands and had a blast. Noah on the other hand didn't find the texture very inviting and only poked his fingers in it.

I have made finger paint before, when Emma was about 1 and I like that recipe better. I might find that and give it a go as well, after all it is really warm at the moment and we like playing outside before it gets too hot. It's fun to play with edible finger paint because then you can do this:


She became a green monster! Oh I forgot to tell you, WHEN you start painting with finger paint and if it's summer, let your kids go nude, it's so much more fun when you don't have to worry about getting your clothes dirty. When we were finished I just put Emma in the shower and she cleaned herself off. This was so much fun and we are definitely going to do this again.

Thursday, November 21, 2013

Butterflies and buzzing bees


So far we've made ladybirds, snails, and little lizards and now it's time for some flying bugs, butterflies and bees. This time we didn't bake, we didn't sew and we didn't cut and glue, but we did get some special kind of paints out and went nuts. Hope you enjoy.


 Yeah I know it's suppose to be summer, but we've had a few really cold days still, hence the beanie. We used face paint that got left over form Emma's ARTsy birthday party. There were only the basic colours, but lucky I know that when you put red and blue together, you can make purple and so on. She loved the butterfly, who wouldn't?!

Then the next thing was to paint a bee, a buzzing bee. Here's my version of a bee.


This was so much fun, she stayed still for a very long time. In fact, I would recommend this activity for when your child is sick. See when they are sick they don't have a lot of energy to do anything on their own and they need to try to rest anyway, so this activity is perfect as it forces them to be still and in the end it should cheer them up a little.

And if you're feeling a little childish yourself with your other half, why not have a go at painting each other's faces as well, we sure did...


Happy face painting everyone!

Wednesday, November 20, 2013

Little shiny lizard


 Now can someone please help me and tell me what these little lizards are called? In Finnish sisilisko, but when I've asked around in here people just don't seem to know. Lucky we speak Finnish at home so I don't have to know the English word, though I am intrigued.

We love spotting these little lizards that are hiding in our garden beds. Emma can sit a long time still, waiting for one to appear and then slowly she sees how close she can get before they run and hide from her. How amazing are little children, at times it feels like they doesn't have any patience and then something little like this and they've got all the patience in the world.

Here's a fun lizard craft for you and your children.


List of the things you'll need:

  • some cardboard (please recycle, for example use an empty cerial box)
  • lizard template (HERE'S the one we used)
  • pen
  • foil
  • pva glue
  • paint brush

Start by cutting a lizard template. While you're cutting your little one can tear the foil in little pieces. Then draw the lizard on your cardboard (we had an old ice cream cone box that had already been used for something else as well). Turn the cardboard around and let your child start gluing the foil pieces on the cardboard. You don't want them to glue on the side where you've drawn the lizard, otherwise by the time they are done, you don't know where to cut.


Let the piece dry well before you cut it. When it's time to cut it, turn your piece around and you have the lizard picture you had traced earlier all ready to be cut out. Bigger children could obviously cut the lizard out themselves. Now your shiny lizard is all ready! Unless you want to give it a bit of paint. We did, we always love to give everything a bit of paint. Zic zac and spots, that's exactly what this little lizard needed.


Wednesday, October 23, 2013

Sand painting


Have you ever tried sand painting with your kids? It's so easy, so magical and keeps them busy for a good long hour.

Here's what you do:

Paint a picture with glue.
Sprinkle sand over your picture.
Or pour sand over the picture.
Dip your paper and get rid of all the extra sand.
Admire your creation.
Emma did this together with her cousin. They were both amazed how the picture appears visible when you pour the sand over it. It was so cool to watch them go and do this whole activity all on their own. They are getting so big, *snif*


All you need is glue, paper, paint brushes and some sand. And don't forget to clean your brushes in warm water after you're finished, that way you can use them another time as well.


And remember to take a picture of your cool sand paintings and send them to me so I can share them!