Showing posts with label recycled. Show all posts

Thursday, December 12, 2013

Diy dress up present for a boy // SUPERHERO cape

I've been feeling very sick for this week. My body must be still in Finland, because it's getting sick in December even though here it's so hot. Go figure. Lucky I'm only making quick presents this Christmas so I'm not exhausting myself too much.

Today I thought I'd share with you how to make a super quick dress up costume for a boy. Though I'm giving this for my daughter as she is playing superheros at the moment, so I'd say it fits well for both.


YES, it's a BATMAN cape! You don't have to make a batman cape, you could use this idea to make any superhero cape, or make one of each! Red for superman (or is that blue one?), green for ... I don't know enough about superheros, but you get my drift.

All you need is:

  • pillowcase (yes a pillowcase!, you could use an old sheet as well or old curtains.. anything that's material pretty much!)
  • felt (for your superhero logo)
  • ribbon or shoe laces
  • superhero logo template (google and print)


I started out by cutting the pieces for my batman logo. First I printed the logo out of the Internet and cut out the yellow oval and then the black batman from felt. Pretty easy so far. Then I sewed the batman on the yellow oval, this was a bit tricky so a more simple superhero symbol might be easier to begin with.


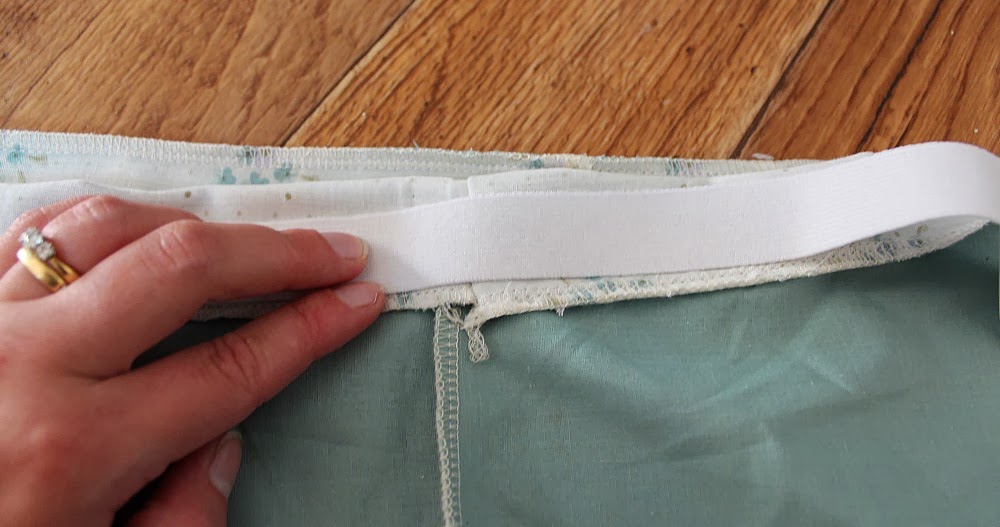
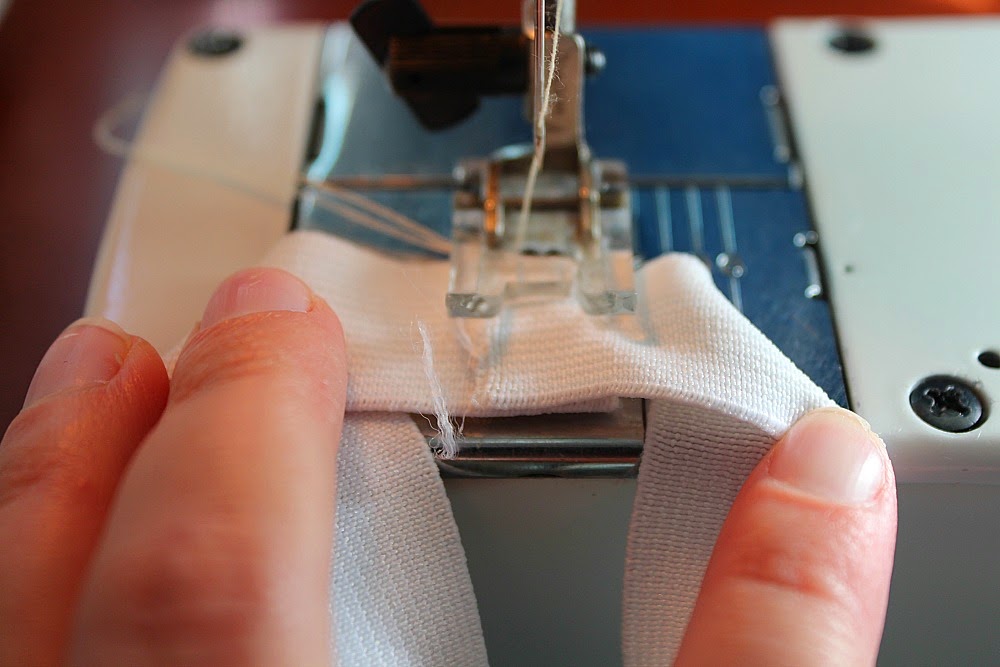
 After you're finished with the logo get your pillowcase and cut the long sides so you have one long piece of material. Then choose how long you want your cape and cut. Make a seam on the long sides so that they don't fray, overlocker does this one great, but if you don't have an overlocker then just zigzag the sides.

Sew your superhero logo to your cape. After that iron the casing where the ribbon will go through and sew that. Then put your ribbon through that casing with the help of a safety pin and you're done!


 I apologise that the pictures aren't too clear, but I don't have much energy at the moment to make them good. Oh well mentality over here. But I'm so happy how it turned out. Now my daughter doesn't have to use scarves as capes anymore, she will have a real batman cape!

Tomorrow really quickly a quick guide how to make the most basic superhero mask with a template to download.


Monday, December 9, 2013

Diy dress up present for a girl // vintage princess skirt

Now that all the Christmas markets are over I'm jumping right back into present mode. One thing that I've been meaning to organize for Emma is a dress up box. She's really into dress ups and I've got a few pits and pieces, but it's time to start making some dresses and capes and such.

I know the polyester princess dresses (that will go up in flames near fire) would be an easy way to go, but it's not very me for some reason. I think handmade vintage princess skirt has much more personality in it. So if you want to make your princess their own princess dress out of recycled materials then here's instructions for you. It won't take much time at all, but you will need a sewing machine.


Here's what you'll need:
  • two pieces of material, old sheets work great and cost you nothing, and give that vintage look
  • elastic
And that's it! Of course you need scissors and a sewing machine, but other than that all you need is those two things.

First things first, measure your child's waist and cut that amount of elastic. Then spread your old sheets on the floor and cut out two pieces, one smaller than the other, but same length. I measured 3 times the length of the elastic, but I think double would work probably better. I just wanted the skirt to go all puffy like princess skirts go, so I thought more the material more the puffiness. 


Put the smaller piece of material on top of the larger and cut it in half, you have now two small pieces. Make the bottom middle corners round (see the picture below). Then sew the hemline of the smaller pieces so that the hems are nice and tidy. If you want it to look more professional always iron the edges you're about to sew first. Again the pictures explain better than my words.


Don't think you can't do this if you don't have an overlocker, because you totally can! Just sew a zigzag on the edges, then iron and sew your straight stitch. I'm using an overlocker only because I have one and they are super awesome.

Now the next step is to sew all the pieces together, just one zigzag or with your overlocker if you have one. Make sure the two small pieces overlap a little.

Then sew your back seam together right sides facing each other, so that it starts to look a little like a skirt.


This is what your skirt should look like now. Don't worry about the wrinkles, iron the whole skirt when you're finished. Now it's time to sew the waistband.

First iron the edge of the waist. Use your elastic as a measuring stick again making sure that the edge is ironed a little bit more that the width of the elastic. That way you make sure that the elastic will fit through.


You need to leave an opening on your casing where you can put the elastic through. So make sure you start sewing a bit after your back seam and stop sewing a bit before you reach the back seam.


Then it's just matter of putting your elastic through the waistband casing. Place a safety pin on the end of the elastic, stick it through the casing opening and push the elastic through the casing till it comes out the other end.  Overlap the two ends of the elastic and sew them together. Make sure the elastic is not twisted inside of the casing! (I've done that rookie mistake too many times.)


 Sew the gap closed and finish your skirt's hemline and you're done! So easy! It took me less than an hour to make this and cost me the amount of elastic (which is not a lot).

Yes I know it's not shiny or glittery skirt, but I think my princess will love it still.

How about a felt tiara to fit the skirt? How about if it was reversable and super easy and quick to make? I'll share that tutorial next!


Wednesday, November 20, 2013

Little shiny lizard


 Now can someone please help me and tell me what these little lizards are called? In Finnish sisilisko, but when I've asked around in here people just don't seem to know. Lucky we speak Finnish at home so I don't have to know the English word, though I am intrigued.

We love spotting these little lizards that are hiding in our garden beds. Emma can sit a long time still, waiting for one to appear and then slowly she sees how close she can get before they run and hide from her. How amazing are little children, at times it feels like they doesn't have any patience and then something little like this and they've got all the patience in the world.

Here's a fun lizard craft for you and your children.


List of the things you'll need:

  • some cardboard (please recycle, for example use an empty cerial box)
  • lizard template (HERE'S the one we used)
  • pen
  • foil
  • pva glue
  • paint brush

Start by cutting a lizard template. While you're cutting your little one can tear the foil in little pieces. Then draw the lizard on your cardboard (we had an old ice cream cone box that had already been used for something else as well). Turn the cardboard around and let your child start gluing the foil pieces on the cardboard. You don't want them to glue on the side where you've drawn the lizard, otherwise by the time they are done, you don't know where to cut.


Let the piece dry well before you cut it. When it's time to cut it, turn your piece around and you have the lizard picture you had traced earlier all ready to be cut out. Bigger children could obviously cut the lizard out themselves. Now your shiny lizard is all ready! Unless you want to give it a bit of paint. We did, we always love to give everything a bit of paint. Zic zac and spots, that's exactly what this little lizard needed.